Paver Sealer Application Mistakes and How to Avoid Them


Few things elevate a home’s curb appeal like clean, richly colored pavers with a well-laid sealer that adds depth and subtle sheen. When sealer goes wrong, though, the result is blotchy, hazy, sticky, or tire-tracked surfaces that cost more to fix than to do right the first time. After years in the field washing and sealing driveways, pool decks, and walkways, I’ve seen the same avoidable errors repeat. The good news: with solid prep, the right chemistry, and patient application, you can get durable, even protection that holds up in Florida sun and summer storms.
Whether you’re searching for paver sealing near me to hire a crew or you’re a savvy homeowner planning to do it yourself, understanding the pitfalls will save you money and headaches. I’ll walk through what goes wrong, why it happens, and the steps that prevent it. Along the way I’ll highlight where a professional pressure washing service earns its keep, and where a well-prepared DIY approach can succeed.
Why sealing pavers is worth doing, and what it cannot fix
A quality paver sealer does three things exceptionally well. It repels water and contaminants that stain or degrade the surface. It stabilizes joint sand so ants, weeds, and washout are less likely. And it enriches color, which many homeowners love on tumbled travertine, concrete brick, or shellstone. What it cannot do is fix structural issues. If your pavers are hollow, rocking, or settled, no sealer will stop movement. If the surface is coated with efflorescence, rust, or oil, the sealer may actually trap those blemishes. Good results start with realistic expectations and proper prep.
In Lutz and surrounding Tampa Bay communities, our sand-based installations and frequent rain create special conditions. Heat accelerates cure times. Dew and humidity complicate dry times. That makes prep and timing even more critical. I get calls every spring tuned to the same refrain: “I sealed last weekend and it’s cloudy,” or “my driveway looks streaky where the car turned.” The root causes are usually predictable.
The most common mistake: sealing over moisture
Trapped moisture is the number one reason paver sealer turns milky or hazy. Concrete pavers are porous. They absorb water from rain, recent pressure washing, sprinklers, and even overnight dew. Apply sealer before the pavers and joints are truly dry, and you lock vapor underneath. As that vapor pushes upward, it refracts light and gives the cloudy, banded look that shows up as the sun hits different angles.
Here’s the tricky part. Dry to the touch is not the same as dry throughout the pore structure. On a hot day, the top eighth of an inch can feel bone dry while the core still carries moisture. Pool decks and north-facing walkways lag behind driveways. Joints also hold water longer, especially after re-sanding.
If you’re hiring out paver cleaning Lutz way or across the bay, ask the crew how they test dryness. I prefer a simple, reliable method: tape a 12 by 12 piece of plastic tightly to several representative spots and leave it for 30 minutes. If you see condensation inside, wait longer. A pin-type moisture meter also works, though plastic gives a more visual read.
For scheduling, I like to clean one day, re-sand later the same day if conditions allow, then seal the following afternoon when the surface is fully dry. On humid weeks, I often push sealing to the second day to avoid hazing. Patience here is cheaper than stripping and starting over.
Skipping a thorough clean and pH neutralization
No sealer can bond well over contaminants. The most common culprits I encounter are algae biofilm, polymer haze from previous sand, and the chalky bloom of efflorescence. Efflorescence is dissolved salts migrating through the paver and crystallizing on the surface as water evaporates. If you seal over it, you’ll freeze white blotches under a clear film.
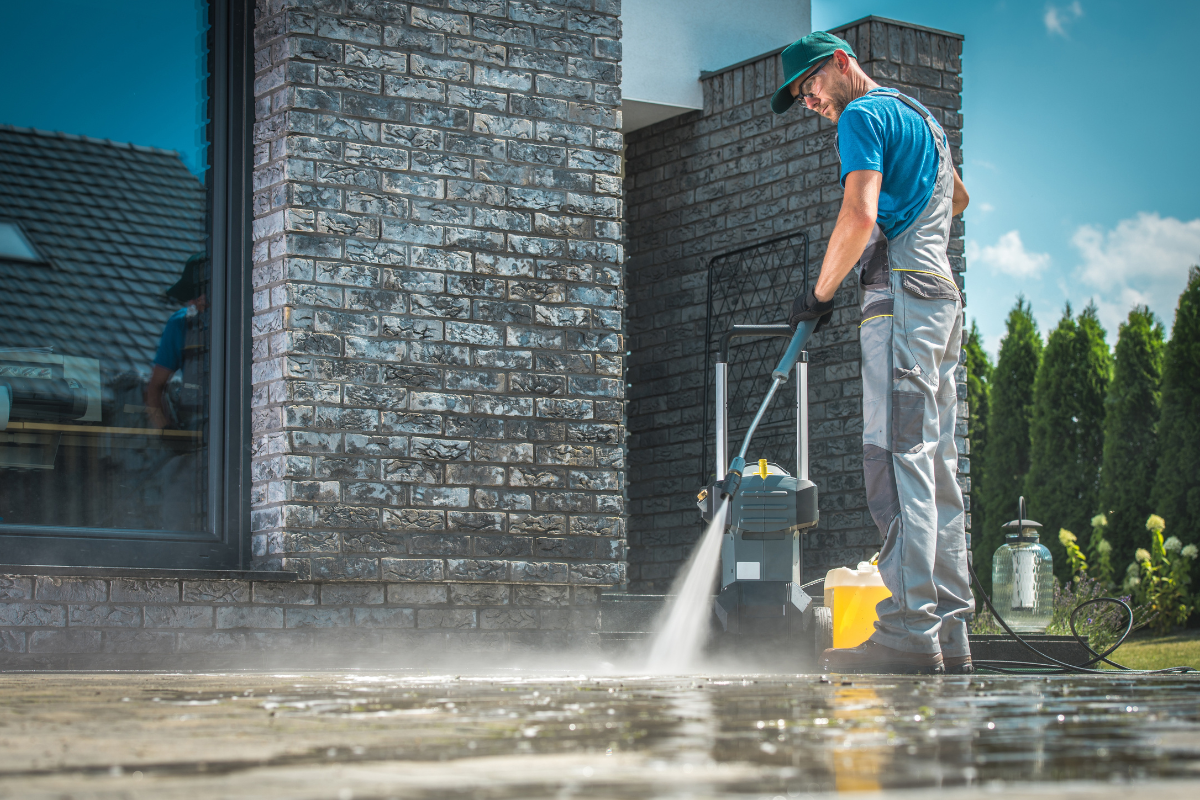
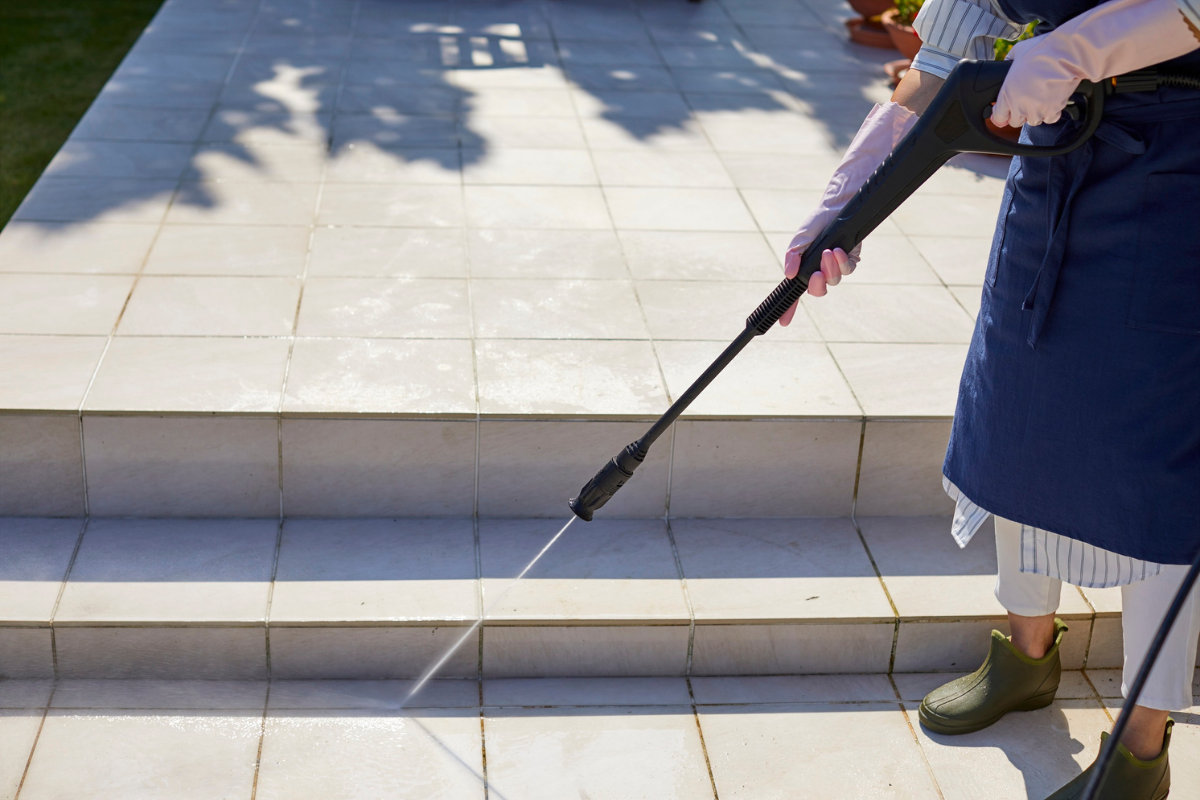
Effective cleaning is a sequence, not a once-over with a wand. I prefer a surface cleaner at 2000 to 2500 PSI on concrete pavers to lift uniform grime, followed by targeted treatment of stains. Rust responds to oxalic or a blend of organic acids. Organic growth needs a sodium hypochlorite solution, then a thorough rinse. Oil requires a degreaser and dwell time. After any acidic treatment, follow with a pH-neutralizer or a light alkaline rinse to bring the surface back to neutral. That step is often skipped. You feel the result months later when the sealer flakes or releases, because acid left in the pores compromises bond strength.
If you’re searching driveway pressure washing near me and comparing quotes, ask providers how they handle pH after acid washing. A thoughtful answer usually separates real pros from splash-and-dash crews.
Choosing the wrong sealer for the job
Not all sealers behave the same. The label “paver sealer” covers a spectrum. Water-based acrylics, solvent-based acrylics, urethanes, silane/siloxane penetrants, single component, two component, gloss, matte. Each has trade-offs.
Water-based acrylics are friendlier to apply in residential neighborhoods, lower odor, and easier to clean up. Many modern water-based formulas are quite durable. They are also less forgiving of moisture during application, and poor choices for trapped efflorescence. Solvent-based acrylics offer strong color enhancement and faster set in dry conditions, but fumes and environmental restrictions can be a problem, and cleanup is tougher.
Penetrating sealers like silane/siloxane are invisible, excellent at water repellency, and do not form a film, so they are less prone to whitening. They don’t bind joint sand or enrich color, though, which many homeowners want. Urethane sealers, particularly two-part products, produce a tougher film but require meticulous mixing and correct film thickness. Go too heavy and you create a slick, plastic look that may peel.
Match the product to the substrate and your goals. For high-traffic driveways, I usually use a quality water-based acrylic designed for concrete pavers, applied in two light coats. Around pools, I prefer a satin finish with good slip testing numbers, not a high-gloss that turns slick when wet. On very porous clay pavers, a solvent-based product can sometimes give more even color uptake. And on dense natural stone where color shift is unwanted, a penetrating sealer may be the best choice.
If you’re typing paver sealing near me into a search bar, look for contractors who can explain exactly why they recommend a specific chemistry for your pavers and your site conditions. One-size-fits-all is convenient for the crew, not for your surface.
Overapplication and the myth of “more is better”
I once visited a courtyard where the homeowner had applied three heavy coats of glossy acrylic over two days. It looked fantastic for a week. Then the first rain came, water pooled, and the film turned cloudy and slick. Worse, tire tracks ghosted into the surface as the film softened under the heat of rolling rubber. The fix involved stripping. That cost more than a professional washing and sealing from the start.
Film-forming sealers need to be applied within a recommended spread rate, usually stated on the label in square feet per gallon. Respect those numbers. For porous concrete pavers, an initial coat in the 200 to 250 square feet per gallon range is common, followed by a lighter second coat around 250 to 300. Clay pavers, travertine, and very dense surfaces might push coverage higher. The goal is even coverage that soaks in on the first pass and lightly ties the film on the second.
A telltale sign of overapplication is a deep wet look that seems to sit above the surface rather than enrich it. Another is a persistent tacky feel after 24 hours. Thin to win is a useful mantra. Two light coats almost always beat one heavy coat.
Poor timing with weather, shade, and traffic
Sealing is part chemistry, part choreography. Weather windows matter. Wind drives dust into wet sealer. Temperatures below 50 degrees at night can slow cure beyond expectations. On the other end, midday sun on a 90-degree day flashes off water in a water-based sealer before it can coalesce, leaving roller marks and lap lines. Shade can fool you, as dew sits longer on shaded pavers, slowing dry time.
I aim to lay sealer when the surface is between 60 and 90 degrees, with relative humidity below 70 percent if possible, and no rain in the forecast for at least 24 hours. In Florida summers, that often means starting late morning to allow dew to burn off, then finishing early afternoon before storms build. I stage the project so high-traffic areas get sealed first, giving them a longer cure before evening. I also use cones or tape, and I warn clients that foot traffic should wait 4 to 6 hours and vehicle traffic 24 to 48 hours depending on product and weather. If a contractor doesn’t manage your access, assume they’ve left your sealer vulnerable to imprints.
Inadequate joint sand compaction and stabilization
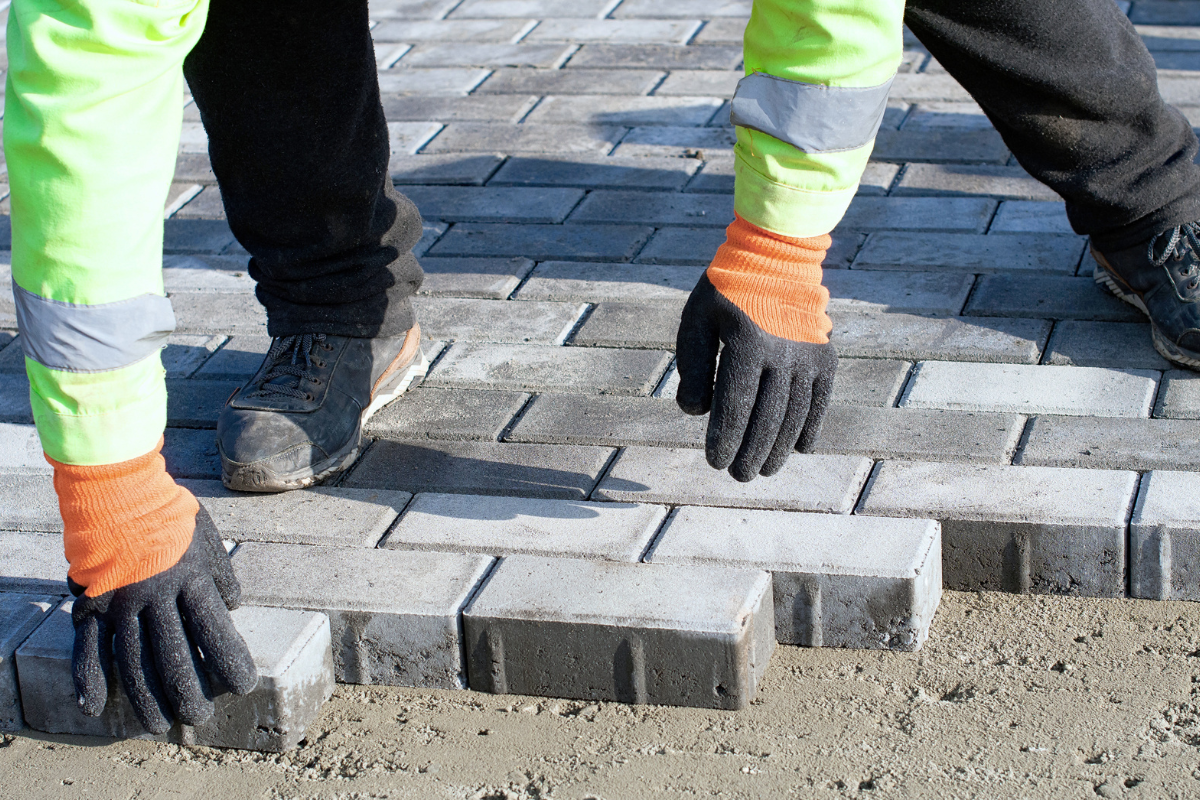
Joint sand is more than filler. It locks pavers laterally and contributes to drainage. If you blast sand out during pressure washing and fail to replace it properly, you invite movement and uneven sealer uptake. The right approach is to sweep in clean, dry sand, then vibrate it down with a plate compactor using a protective pad to avoid scuffing. Add more sand, compact again, and repeat until joints are filled to about an eighth of an inch below the chamfer.
Polymeric sand can work under the right conditions, but it requires exact moisture control and thorough cleaning of residue before activation. I see too many jobs where polymeric haze is sealed over, leaving a gray cast on the paver faces. If you choose polymeric sand, test a section and follow the manufacturer’s misting instructions carefully. On many jobs, high-quality regular joint sand combined with a penetrating sealer that stabilizes sand is a safer, cleaner path.
Using the wrong tools or application method
Rollers, sprayers, and squeegees all have their place. I like low-pressure sprayers for the first penetrating coat on porous pavers, followed by a back-rolling to even out distribution and prevent puddling. On dense surfaces, rolling alone can be sufficient, but you must watch lap lines and keep a wet edge. High-pressure pump sprayers can create atomized clouds that drift onto cars, windows, or plants, which is a fast way to ruin a day. Low-pressure with a fan tip and consistent walking speed gives better control.
Coverage control matters. A five-gallon pail with measured pour lines helps keep honest spread rates. Swapping roller covers frequently avoids shedding lint into the film. Brushes for edges should be flagged-tip to prevent streaks. One more field trick: always work from a fixed edge outward so you don’t paint yourself into a corner and end up stepping through fresh sealer, a mistake I see surprisingly often on pool decks.
Ignoring previous sealer compatibility
Sealer over sealer is not always friendly. If the last application was solvent-based, a water-based product may not anchor well without a proper cleaning and test. If the previous sealer has started to delaminate, anything over it will inherit that failure. I carry a small bottle of xylene for a spot test on unknown driveways. A brief wipe that softens the surface suggests solvent-based acrylic beneath. In that case, I either recoat with a compatible solvent-based formula or strip, clean, and migrate to a water-based system. If stripping is involved, budget time for multiple passes and neutralization. Strippers that sit too long can etch surfaces or drive residue into joints.
When homeowners call after a failed DIY attempt, incompatibility is often the hidden culprit. If you do not know what’s on your pavers, test an inconspicuous area. Wait a few days. Watch for lifting, wrinkling, or hazing before committing to the full area.
Rushing the cure and inviting tire marks
Curing is not binary. A surface may be dry to the touch in two hours and yet soft under the film for a day or more. Hot tires, tight turns, and power steering can imprint a driveway that looks ready but hasn’t reached functional hardness. That’s why I stage cones and have frank conversations with clients, especially those who park heavy SUVs. If you must park, pull in straight and avoid turning the wheel while stationary. After 48 hours, most acrylic systems in warm weather are safe for normal use. Cooler temperatures or dense pavers can extend that window.
In a commercial center near Lutz, a property manager let delivery trucks through 12 hours after sealing. The turning radius left perfect arcs in the finish. Those arcs became permanent because the tires impressed dirt into the still-soft film. A light solvent reflow can sometimes fix it, but prevention is easier.
Overlooking edges, drains, and water paths
Sealer failures often start where water concentrates. At downspouts, low spots, and drain grates, film thickness thins or lifts under repeated wetting and drying. I spend extra time at these spots. If there is a low area that habitually ponds, consider a penetrating sealer there, even if the rest is film-forming. Blending products can sound odd, but function beats uniformity in trouble zones. Around drains, brush sealer into the chamfers so the joint edge is protected. On pools, watch weep holes where water leaches minerals onto the deck. If efflorescence is active, treat it before sealing, or you will lock in a cycle of white rings.
Plant, glass, and metal protection
Sealer overspray on windows and stainless fixtures is the sort of mistake you cannot unsee. Masking takes minutes and spares a day of removal. Wet nearby plants before starting, cover delicate shrubs with breathable fabric, and rinse them afterward. Solvent-based overspray on glass can require specialized removal. Water-based spatter usually wipes if caught immediately, but once it dries, razor scraping becomes necessary. A careful operator with a low-pressure fan tip and controlled walking pace avoids most of this.
What a disciplined process looks like
Here is a concise, field-tested sequence that yields reliable outcomes when washing and sealing residential pavers, especially in humid climates:
- Pre-inspect and test: Identify previous sealer, note stains and efflorescence, tape plastic moisture tests after cleaning, and confirm weather window.
- Clean methodically: Surface clean, spot treat stains, neutralize after acids, rinse thoroughly, and allow adequate dry time.
- Restore joints: Sweep in dry sand, compact, top off, and clean dust from faces.
- Apply thin, even coats: Respect spread rates, maintain a wet edge, back-roll for evenness, and avoid ponding.
- Protect the cure: Block traffic, monitor dew or rain risk, and advise owners on tire turn avoidance for 24 to 48 hours.
The Florida factor: humidity, sprinklers, and irrigation stains
In our region, irrigation systems complicate scheduling. Sprinkler overspray within 24 hours of sealing can pockmark the film and leave mineral rings from well water. I ask homeowners to shut systems off for two days, and I place reminders on control panels. If the property pulls from a well rich in iron, the rust staining can return within weeks. In those cases, I treat the irrigation water or install filters when feasible, because chasing rust with cleaners after sealing is an ongoing cycle.
Humidity also drives dew formation long after sunset. A surface that looked ready at 6 pm may take on moisture by 9. If an evening dew settles on a film that has not yet coalesced, a faint white bloom can appear by morning. Choosing the start time and watching the dew point forecast reduces that risk. On especially sticky weeks, I sometimes do two morning coats with quick-flash products to beat the afternoon storms, rather than late-day applications that fight dew.
Troubleshooting mistakes without making them worse
Even with care, issues happen. Knowing how to correct them quickly saves a surface.
Milky or white sealer from trapped moisture can often be improved with a light application of the original solvent (on solvent-based products) to reflow the film and let moisture escape. For water-based haze, a diluted ammonia wash or manufacturer-recommended deglosser followed by a thin recoat sometimes clears it. If the whitening is severe across a large area, stripping becomes the only durable fix.
Tire marks imprinted into soft sealer may relax in sunlight over a week. If not, a warm day recoat after thorough cleaning can help. Sticky or tacky areas usually indicate overapplication. Gentle solvent wiping to knock back the film, then a thin recoat, can rescue it.
Polymeric sand haze visible under sealer often resists simple fixes. Spot sanding followed by resealing can blend small sections, but widespread haze usually means stripping and starting over. This is the scenario that convinces many homeowners to bring in a professional.
When to DIY and when to hire a pro
Some driveways are straight, accessible, and forgiving. Others have intricate borders, shade variations, rust-prone irrigation, and mixed substrates. If your project ticks many complexity boxes, a reputable pressure washing service that specializes in paver sealing is worth the premium. They bring surface cleaners, restoration tools, moisture meters, and the product knowledge to pivot when conditions change. Ask for references, product data sheets, and manufacturer-backed methods. Good operators also carry insurance, which matters if overspray reaches a neighbor’s car or glass.
If you decide to DIY, keep scope realistic. Start with a patio before tackling a sloped, curved driveway. Invest in quality tools. Read the technical data sheet, not just the label. Stage your work so that you can complete a section without rushing. And have a plan for algae removal pavers weather, traffic, and irrigation.
Cost, durability, and maintenance expectations
Done properly, paver sealing on a driveway typically lasts 2 to 3 years before it needs a clean and refresh coat. Pool decks may go 3 to 4 years if foot traffic is light and chemicals are managed. Expect re-sanding of joints as needed, since wind and water still work on them over time. In Florida’s UV and rain cycle, color enhancement tends to soften gradually. A light maintenance coat is often enough to restore depth without stripping.
Budgeting varies by market, surface condition, and access. As a ballpark, professional washing and sealing ranges from a few dollars per square foot for straightforward jobs to higher for heavy restoration or stripping. DIY material costs are lower, but your time and the risk of correction should factor in. A botched sealer application can cost more to fix than a professional job from the start.
A few real-world examples
A homeowner in Lutz called about a hazy pool deck sealed two days earlier. The deck had been pressure washed the same morning, then sealed by afternoon. Plastic tests showed moisture. We stripped the worst sections, treated efflorescence that emerged from the coping line, allowed a full day of dry time with fans moving air under the screen enclosure, then applied two thin coats in the late morning. The haze never returned.
At a commercial property, a new maintenance crew used a high-gloss solvent on driveway jet wash clay pavers and applied it heavy. The result was slick in the rain. We reduced the film with a solvent bath, then recoated with a satin water-based acrylic formulated for high traction. The end look was still enriched, and slip resistance improved by measurable points on a tribometer.
On a residential driveway with stubborn rust from well water, we installed a simple iron filter on the irrigation zone and adjusted heads to reduce overspray. After rust removal and pH neutralization, sealing held beautifully. The filter cost less than repeated stain removals across a year.
Final thoughts from the field
Sealing is as much about judgment as it is about products. Watch the weather, respect moisture, and keep the film thin and even. Clean thoroughly and bring the surface back to neutral before you start thinking about sheen. Take extra care at joints and low spots, because those are where issues begin. If you need support, search paver sealing near me and vet the companies that answer. And if you’re lining up paver cleaning Lutz or nearby, ask about their full process, not just the price per square foot.
Good sealing makes pavers easier to live with. They rinse clean. Colors pop in the golden hour. Sand stays put. The work is quiet, methodical, and largely invisible when done right, which is exactly the point.
Bulletproof Pavers
Address: 1523 Green Meadow Dr, Lutz, FL 33549
Phone: (813) 401-0693