Paver Sealer 101: What to Know Before You Apply


Most paver problems start out small. Sand washes from the joints after a few hard rains. Ants borrow under an edge. A rust drip from a planter turns into a stubborn stain. Then a summer of UV and sprinkler overspray leaves the color looking tired. Sealer, done right, is the difference between chasing those issues every season and keeping your patio or driveway looking crisp year after year.
Done wrong, sealer is its own problem. I’ve stripped gummy, milky, and uneven coatings from more surfaces than I care to count, often for homeowners who just wanted a “wet look” and a little protection. This guide lays out what matters before you open a paver sealer, including how to prep, what to choose, and how to avoid the pitfalls that lead to haze, whitening, or trapped moisture.
What a paver sealer really does
Sealer is not paint. It doesn’t hide flaws or add structural strength. Think of it as a protective film and sometimes a color enhancer. The right product for the right paver and climate can deliver several benefits. It locks the joint sand to reduce washout and weeds, blocks stains from soaking in, softens the fading caused by UV, and in some cases deepens the color so charcoal looks charcoal again.
When you read the label, focus on performance claims backed by chemistry, not marketing language. “Wet look” means the sealer has an enhancer or is a higher solids gloss formula. “Breathable” matters more than it sounds, especially in humid climates like Florida, because pavers constantly exchange moisture with the ground. A non-breathable coating traps vapor, which later turns into the dreaded milky haze.
A quick tour of sealer types and how they behave
At the rack or online, you’ll find three broad categories. Each has a place, and each can cause headaches if misapplied.
Solvent-based acrylics are the classic wet-look products. They bond well to concrete pavers, deepen color, and can achieve a glossy finish when applied correctly. They also tend to darken the surface. The downside is stronger odor, flammability, and a higher chance of whitening if water gets trapped below the film. In hot sun, they flash quickly, so technique and timing matter. On tight, dense pavers or surfaces that stay damp, a solvent acrylic can go sideways.
Water-based acrylics offer good protection with less odor and easier cleanup. Many modern formulas are quite durable and are preferable where breathability is a priority. They can be matte to low gloss, sometimes with a subtle color enhancement. Because they are often more forgiving, they are popular among homeowners and pros who want fewer variables. They still require clean, dry pavers and the correct spread rate.
Penetrating sealers, including silane, siloxane, and blends, soak into the paver and repel water and stains without changing the look much. They are ideal for clients who want natural color and minimal sheen. They rarely whiten since there is no film. Penetrating sealers are excellent on dense natural stone or clay brick where film-formers struggle to anchor. They do not stabilize joint sand as aggressively as film-formers unless paired with a compatible joint polymer.
There are also urethane and hybrid products. Some are two-part systems that cure harder and last longer, often used in commercial settings. They are less forgiving and require precise ratios, environmental controls, and meticulous prep. Most residential projects don’t need them unless a manufacturer specification calls for it.
Know your surface before you decide
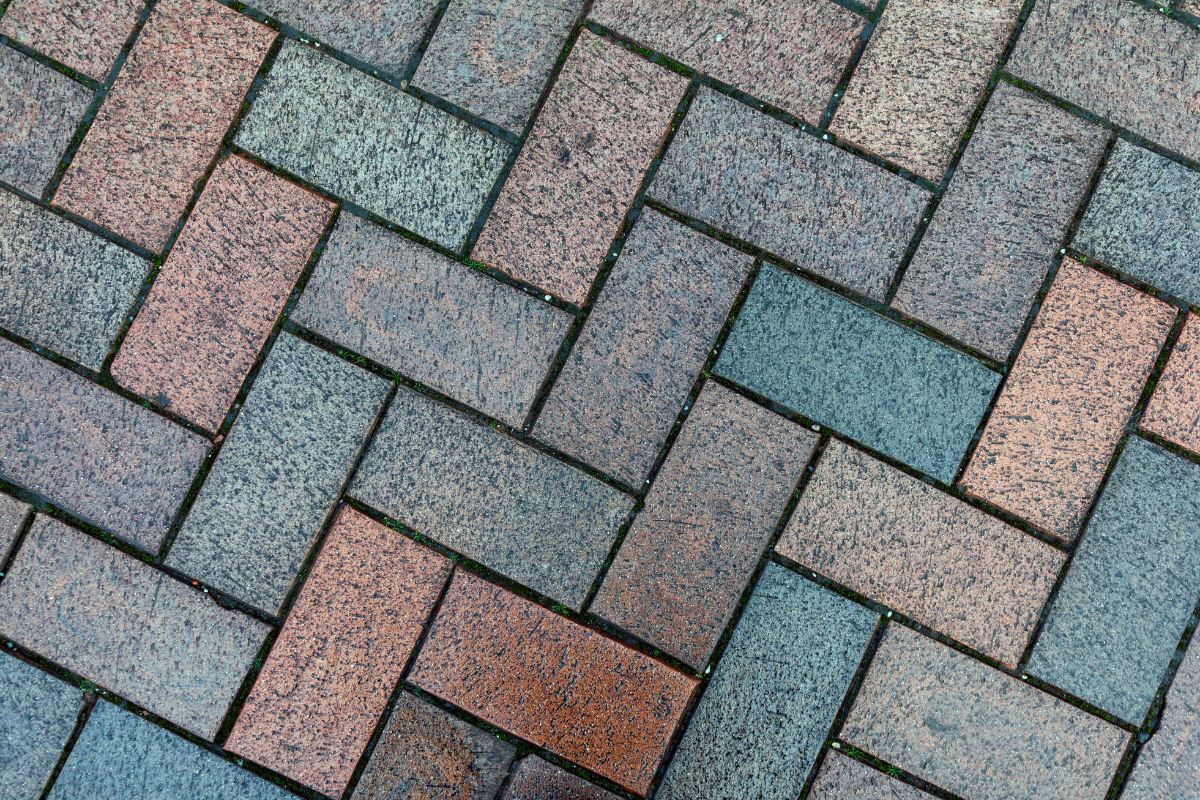
Concrete pavers vary more than most people realize. High-density products from some manufacturers resist absorption and hold color better, while budget pavers are thirstier and more porous. Clay brick pavers behave differently again, and natural stone is its own category.
If you’ve inherited a patio or pool deck, check by sprinkling water. If it darkens quickly and evenly, your surface is porous and will accept a film-former well. If it beads or darkens in blotches, either there is existing sealer or the paver is denser than usual. For clay and many natural stones, penetrating products are safer.
Existing coatings complicate the picture. A simple test helps: drip xylene or a strong solvent on a small, inconspicuous spot. If the surface gets tacky or the finish softens, you likely have a solvent-based acrylic. Water won’t affect it. If nothing happens, you might have a water-based product or a penetrating sealer. Mixing systems is risky. In my experience, layering water-based over an older solvent film can work if the surface is clean and deglossed, but longevity suffers. Going solvent over a water-based film is asking for wrinkling or whitening. When in doubt, strip and start fresh.
Prep is 70 percent of the job
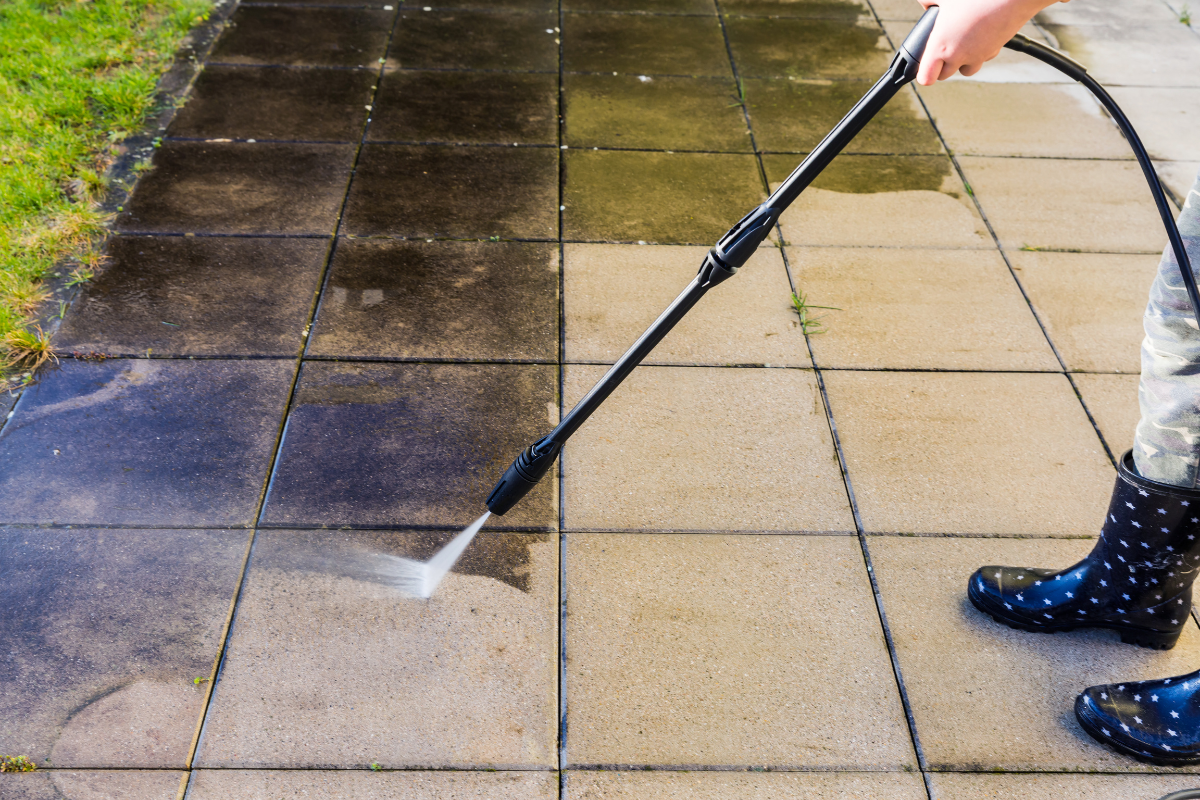
The best sealer on earth cannot overcome poor prep. Dirt, mildew, efflorescence, and leftover polymeric haze all telegraph through and interfere with bonding. This is where pressure washing earns its keep, but technique matters as much as equipment.
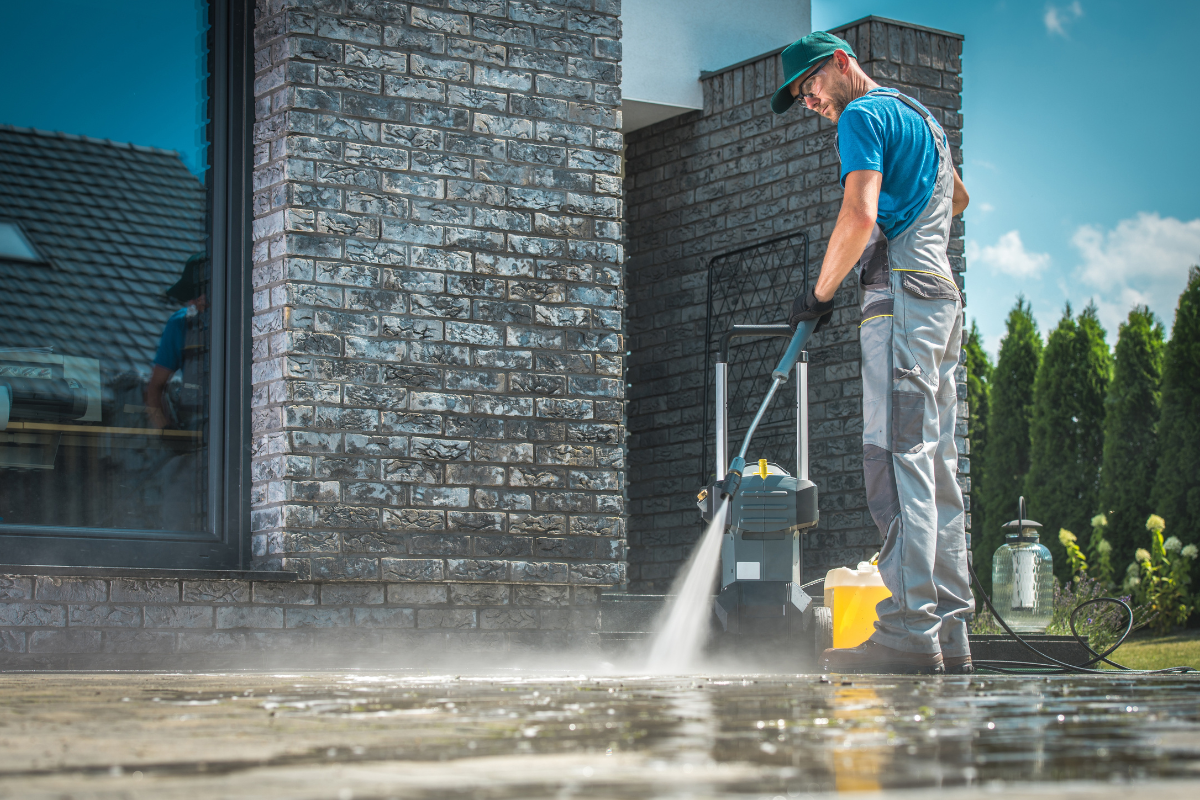
Start with a thorough cleaning. If your area has heavy pollen, algae, or efflorescence, plan a two-step process. A quality pressure washing service will use a surface cleaner for wide, even passes, then rinse joints at a low angle to avoid blasting out sand. I keep a range of tips on hand. A 15-degree nozzle cuts grime on stubborn spots, but you want to hold it at a consistent height and keep it moving to avoid striping. For clients searching “pressure washing” or “driveway pressure washing near me,” ask whether they pretreat with detergents and post-treat organics. A good crew will.
Efflorescence is a chemistry problem that needs a chemistry solution. It is the white powdery salt that leaches from cement products and ruins sealer adhesion. You can’t pressure wash it away for good. Use an efflorescence cleaner formulated for pavers, apply per label, agitate with a brush if needed, then rinse like you mean it. I give it at least 24 to 48 hours after the final rinse in warm, dry weather, longer if humidity is high. In places like Lutz, where afternoon storms pop up, timing is everything. Clients who call about paver cleaning in Lutz often need a weather window more than anything.
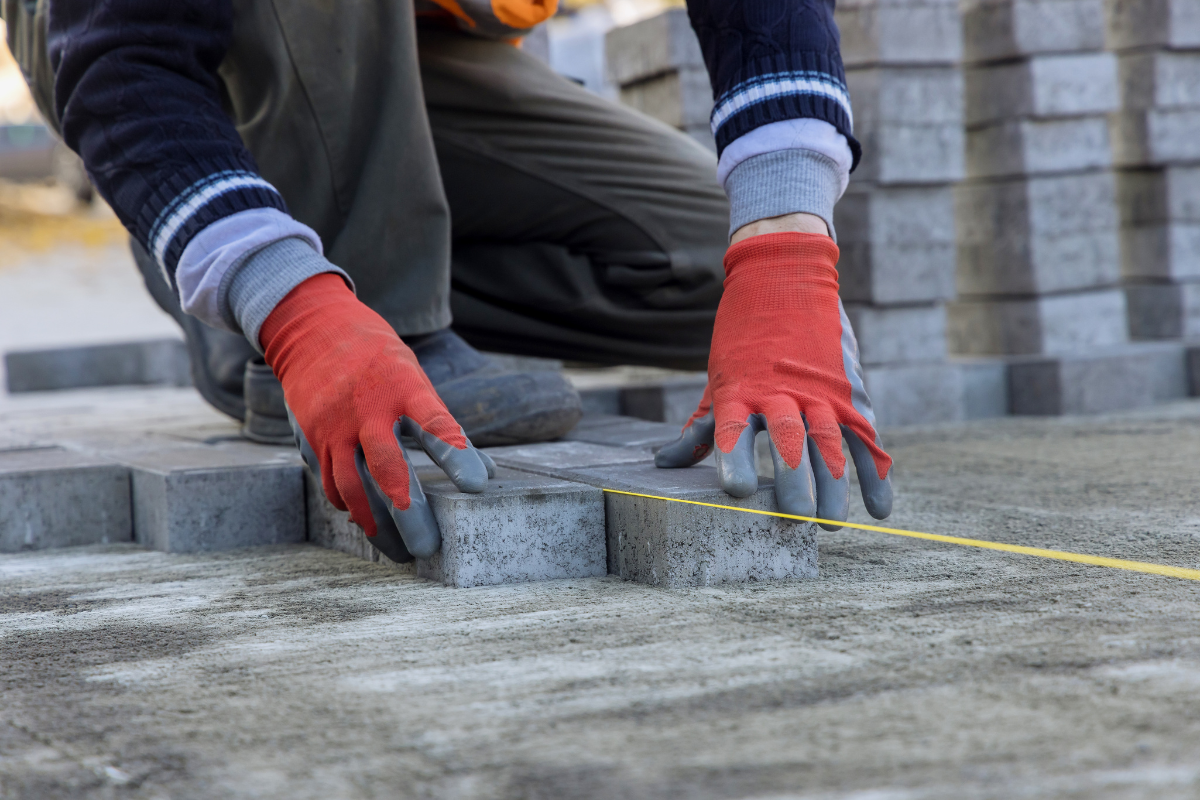
Joint sand strategy matters. If you are using polymeric sand, sweep Free estimate paver sealing Lutz it in after cleaning and drying, compact with a plate compactor to settle the sand deep in the joints, top off, and then activate per the manufacturer. Light, even misting is the trick. Oversoaking floats fines onto the paver face and causes that gummy haze that no one wants under sealer. Let polymeric cure fully, usually 24 to 48 hours, before sealing. If you prefer traditional sand and rely on the sealer as the stabilizer, sweep clean and go to sealing once the surface is dry.
Dry means dry. The top can feel bone-dry while moisture still sits in the body of the paver. In humid climates, I check morning dew patterns and use a moisture meter when available. As a rule, after pressure washing, I want 24 to 72 hours of dry, sunny weather, with surface temperatures between roughly 50 and 90 degrees Fahrenheit during application. Cold slows cure. Hot and direct sun causes flashing and lap lines.
How much sealer and how many coats
Manufacturers publish spread rates. Respect them. I measure square footage and divide by the recommended coverage to buy with a margin, because under-application is common and leads to disappointment. Over-application is worse and invites whitening.
Film-forming acrylics usually take two light coats rather than one heavy one. The first coat wets into the surface. The second builds uniformity and, with some formulas, locks the sand. I allow the first coat to set to a tack-free state, often 1 to 3 hours for solvent-based and a bit longer for water-based, then apply the second. If the first coat completely sealed the pore structure, the second will sit on top and is more prone to slip and sheen build. That is a sign to go lighter.
Penetrating sealers are usually one liberal coat, sometimes two wet-on-wet depending on porosity. The goal is to saturate the capillaries without leaving a residue. If you can wipe your finger across a dry film a day later, you put too much.
Tools and technique the pros favor
If you watch two crews apply the same product, you’ll see why one gets a flawless result and the other struggles. I keep three application methods in rotation depending on the product and the environment.
A low-pressure sprayer with a fan tip lays down an even coat quickly. It is my go-to for solvent acrylics on open driveways, where backrolling is easy. I work in manageable sections, maintain a wet edge, and watch for overspray on glass or nearby vehicles. On windy days, I switch to rollers or wait.
A 3/8-inch nap roller on a pole gives control around edges, verticals, and tight areas. It also pushes sealer into light texture. For water-based products in heat, rolling reduces flashing.
A pump-up sprayer paired with a microfiber pad works well for penetrating sealers. The sprayer delivers volume, the pad levels and prevents drip marks.
Edges, borders, and transitions are where mistakes show. Work out of the sun if possible, early morning or late afternoon. Keep a clean rag and a small can of solvent or water handy for drips, depending on the chemistry. Mask the base of stucco walls. Tape and cover aluminum cage rails around pools, since overspray can leave permanent spots.
Common problems and how to avoid them
Anyone who has sealed a few thousand square feet has seen the same handful of problems repeat. They are mostly avoidable with a disciplined process.
Whitening or milkiness comes from trapped moisture or over-application. If it appears in spots, it is usually moisture vapor pushing up into a non-breathable film. You can test a small area with xylene for solvent acrylics, which may temporarily clear the haze as the film re-melts. If it does, a light re-roll can even it out. If not, stripping may be required. Prevention is better: ensure dry substrate, breathable product for your climate, and thin coats.
Streaks and lap lines happen when coating flashes too quickly or is applied unevenly. Work smaller sections, avoid sealing hot surfaces in direct sun, and backroll to level.
Sticky or soft finish signals under-cure. Low temperatures, high humidity, or incompatible old coatings are common causes. Give it time if conditions are marginal. If it remains tacky after several days, you may need to remove it.
White or tan haze from polymeric sand means water activation went wrong. Strip the sealer if already applied, then use a polymeric haze remover. It is easier to fix before sealing.
Too much sheen on pool decks becomes slick when wet. Choose a lower gloss product or add an anti-slip additive. I test traction with wet bare feet. If it feels dicey, it is.
How long it lasts and how to maintain it
Expectations matter. Most residential acrylic sealers last 2 to 4 years on driveways and 3 to 5 on patios that see less traffic and sun. Penetrating sealers often hold their water beading 3 to 7 years, though the stain resistance gradually wanes. Harsh sun, chlorine, fertilizers, and frequent pressure washing shorten life.
Maintenance should be light and regular. Rinse dirt and organics with a garden hose or a blower. Spot clean rust or leaves quickly. If you do hire a pressure washing service after sealing, request a soft wash or low-pressure approach. The goal is to clean the surface without eroding joint sand or chewing at the film. For those who search “paver sealing near me” or “paver cleaning Lutz,” ask whether the company offers washing and sealing as a package. Bundled service often costs less, soft wash driveway and the same crew owns the results from prep through finish.
Expect to reapply before the sealer fully fails. The second application generally requires lighter prep than a full strip if you stay within the same chemistry. Clean, remove contaminants, check for efflorescence, and apply a maintenance coat at a conservative spread rate. Switching product families midstream is when problems compound.
Climate and site specifics that sway your choice
Local conditions should steer your selection and schedule. In coastal or lakeside areas, salt spray and constant moisture argue for breathable, water-based film-formers or penetrating sealers. Near pools, consider chemical exposure and slip risk. On shaded, tree-lined patios where mildew is inevitable, build cleaning into the calendar and look for sealers with mildewcides.
Driveways with dark pavers cook in the sun. Gloss amplifies heat and can get tacky in midsummer. I prefer low sheen there. Walkways under irrigation overspray chalk faster. Adjust sprinkler heads and water windows to avoid wetting fresh sealer. Where mornings are dewy, start late, let the surface warm, then seal as the temperature and pavers stabilize.
When to DIY and when to call a pro
I’m biased toward professional work for big surfaces, but I’ve coached plenty of homeowners through successful DIY projects. The decision usually comes down to scale, complexity, and your tolerance for risk.
If you are working on a small patio, the existing surface is clean and unsealed, and you have a reliable dry weather window, a water-based acrylic or a quality penetrating sealer is within reach. Read the data sheet, not just the label. Follow the spread rate. Avoid shortcuts.
If you have a driveway with old, failing sealer, pavers with heavy efflorescence, or polymeric haze, you will likely save money in the end by hiring a specialist. Stripping solvent acrylics safely requires the right chemistry, neutralization, and waste handling. The cost of mistakes piles up quickly.
For those searching “paver sealing near me” or “driveway pressure washing near me,” look beyond the first ad. Ask about their process step by step, what products they use and why, how they handle efflorescence, and whether they will return for touch-ups if settling joints show after the first rain. Good outfits document square footage, chemistry, and weather conditions on the work order so maintenance is straightforward.
A practical, field-tested sequence
Here is a concise, high-level sequence that reflects what works on most residential concrete pavers, from pool decks to driveways.
- Inspect, identify any existing sealer, and test for moisture and absorption. Choose a compatible product with breathability suited to your climate and sheen suited to your slip needs.
- Clean thoroughly. Pre-treat organics, surface clean evenly, address stains and rust, and use an efflorescence cleaner if salts are visible. Rinse to clear water and allow 24 to 72 hours of dry time.
- Address joints. Install polymeric sand correctly or sweep traditional sand if you are relying on the sealer for stabilization. Let polymeric cure per label.
- Apply sealer in thin, even coats at the recommended spread rate. Work in shade or mild sun, maintain a wet edge, and allow proper time between coats. Keep off the surface until dry to the touch, and avoid vehicle traffic until fully cured.
- Monitor the first week. Keep sprinklers off, avoid furniture drag marks, and spot address any small missed areas early rather than after the sealer has fully cured.
Costs, value, and how to think about ROI
Material costs for quality residential-grade sealers range widely. Penetrating products often price by performance chemistry, sometimes one-and-a-half to two times more than mid-grade acrylics per square foot, but they cover more evenly and need fewer reapplications. Add sand, cleaners, and incidentals, and DIY materials for a typical 800 to 1,200 square foot patio sit in a few hundred dollars to low four figures, depending on choice and brand. Professional washing and sealing, including prep and materials, will vary by market, site condition, and access, generally in the range of low to mid single-digit dollars per square foot for straightforward jobs.
The return is measured in reduced maintenance, fewer weed and ant issues, better stain resistance, and color preservation. On driveways, a well-sealed surface also improves curb appeal in a way that helps resale. Value compounds with consistent maintenance. An initial full prep with proper chemistry followed by lighter maintenance coats every couple of years keeps costs predictable and results consistent.
Small details that make a big difference
A few habits pay for themselves over time. Keep a short log for your hardscape: date of cleaning and sealing, brand and batch of sealer, spread rate used, weather conditions, and any issues observed. That makes troubleshooting and maintenance simple for you or any future contractor.
Edge the landscape before you clean and seal so you are not blowing fresh clippings onto tacky sealer. Move planters and furniture well in advance. Protect neighboring surfaces, especially glass, painted aluminum, and natural wood, from overspray. If you are in a windy corridor, plan your application for calm hours. Most jobs I schedule early morning or late afternoon for the temperature, but the wind often decides the exact start.
If you manage a property with multiple surfaces, tailor the chemistry to each. A glossy acrylic that looks fantastic on a tumbled patio may not be the safest choice on a sun-baked pool deck. A penetrating product that keeps clay brick walkways crisp may leave concrete pavers looking too flat for the homeowner’s taste. You are allowed to mix approaches as long as each area is treated consistently within itself.
A note on stains and spot repairs under a sealed surface
Sealer is a shield, not a force field. Oil, wine, rust, and leaf tannins can still mark a surface if left long enough. The difference is that most stains sit near the top and respond to targeted cleaners. Rust removers formulated for pavers work on fertilizer and metal stains without burning the sealer if you rinse promptly. Degreasers lift oil. Oxygen-based cleaners help with organics. Always test a small spot, and keep in mind that aggressive scrubbing can dull gloss in a patch. If that happens, feather a light recoat over the area rather than spot-patching with a visible edge.
If a section fails or wears faster, for example in the tire paths of a driveway, you can clean and recoat those lanes without resealing the entire surface. Blend into a joint or a natural break to hide the transition. This is where good notes on brand and sheen pay off.
Local realities: Lutz and similar climates
In places like Lutz and the broader Tampa Bay area, the climate punishes shortcuts. Humidity, frequent summer showers, sandy soils, and strong sun create perfect conditions for moisture-related failures and rapid organic growth. That shapes product choice and timing. Breathable water-based acrylics and high-quality penetrating sealers do well here, paired with disciplined drying times and careful moisture checks.
When homeowners call about paver cleaning Lutz, my first questions are about drainage and irrigation. Poor pitch that lets water sit on the surface and overspray that wets the pavers each morning are two silent culprits. Correct those, and sealer performance improves even before you open a can.
Final thought
Sealing pavers is not complicated, but it is exacting. The steps are straightforward, and the variables are controllable if you respect them. Clean with purpose, let the surface truly dry, choose a product that fits your paver and climate, and apply thin, even coats. If you prefer to hand it off, look for a contractor who can explain their washing and sealing process in plain terms and stands behind it. Whether you DIY or hire, the payoff is a hardscape that keeps its color, resists stains, and looks intentional every time you step outside.
Bulletproof Pavers
Address: 1523 Green Meadow Dr, Lutz, FL 33549
Phone: (813) 401-0693